Start an Inventory (Resource Manager)
An inventory is an important step to properly manage site investments and ensure an accurate list of available resources. Use Resource Manager's inventory functions to account for each resource, its location and its status.
To start an inventory, you must have the Start new/finalize resource inventory permission for any resource group you are counting. For example, if you have the permission for the Textbooks resource group, you can start an inventory for textbooks.
Start an Inventory
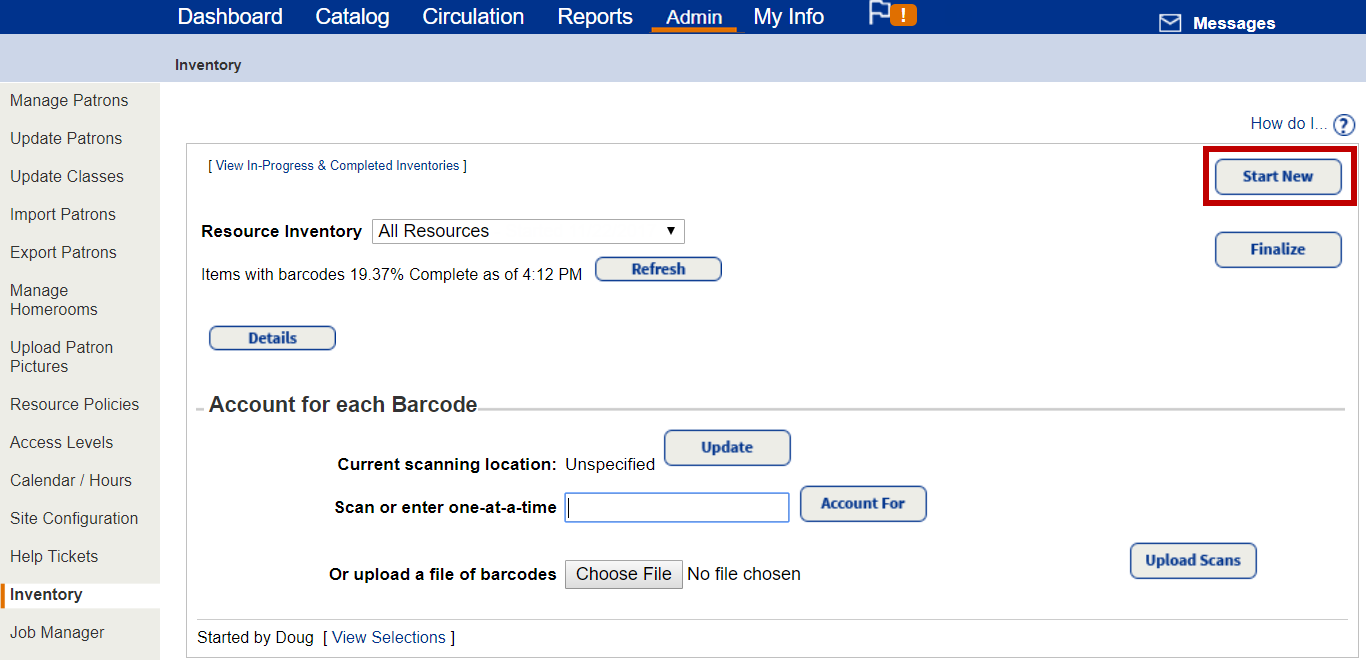
- Select Admin > Inventory > Resources sub-tab.
- Click Start New.
- Complete the information for the following fields:
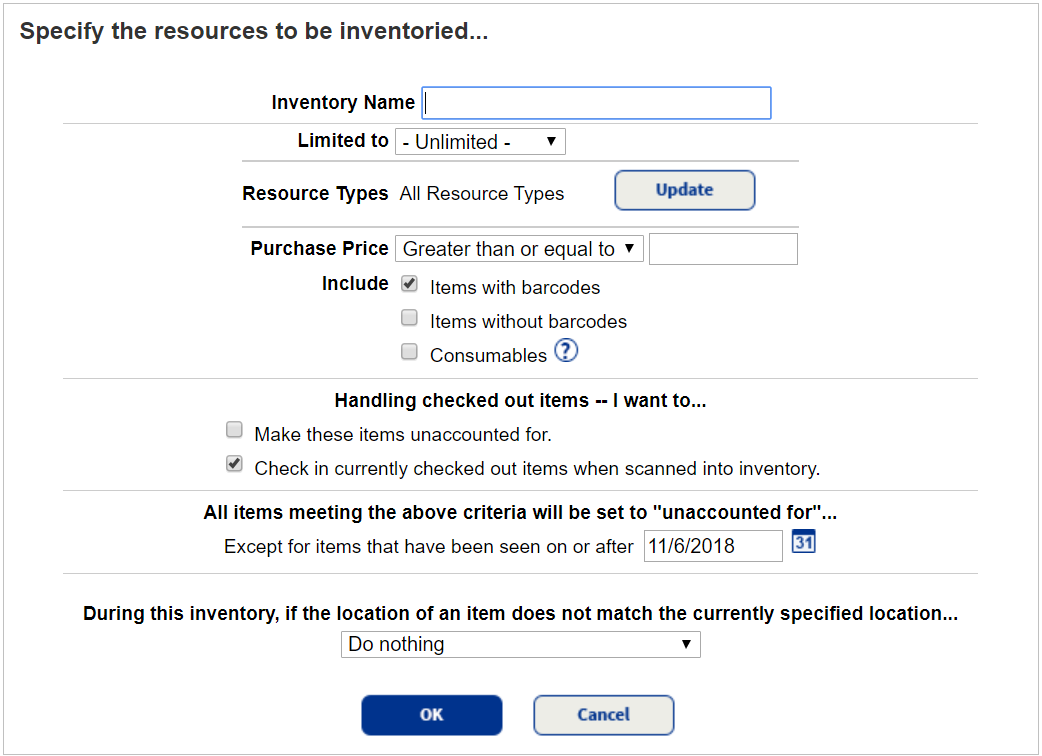
Field Description Inventory Name Type a unique name for the inventory.
Note: If you are logged in to the district, use the For drop-down to select which schools in your district will conduct the inventory. Limited to Select how to limit the resources to include in your inventory; then to select specific home locations, departments or custodians, click Update.
Resource Types To select the resource types you want to count, click Update, and then click OK.
Purchase Price To limit the inventory to resources with a particular purchase price, select the range, and then enter an amount in the field.
Note: Leave the price field blank to count all items, regardless of price. Additional Options Adoption End If you choose textbooks from the Resource Types field, you can limit the inventory for an adoption period ending in a particular year. Enter the year in the from field. For a span of multiple years, also enter an ending year in the to field. Include Select one or more of these checkboxes to specify the resource items you want to count:
- Items with barcodes
- Items without barcodes
- Consumables
If you select the Items with barcodes checkbox, the Purchase Price fields are displayed above.
Note: Unbarcoded items and consumables that are checked out are automatically accounted for. If they are checked in during inventory, they remain accounted for. Handling checked out items -- I want to… Select how you want to handle checked out items:
- Make these items unaccounted for: All items retain their checkout status when you scan them into inventory.
- Check in currently checked out items when scanned into inventory: If you have Destiny check in any currently checked-out items when scanned, and you upload a barcode file with checked-out items, those items will be counted in the inventory, but will remain checked out.
All items meeting the above criteria will be set to “unaccounted for”…
If there are items that have been reviewed recently, such as circulated, updated or transferred, you can exclude them from being set as unaccounted-for by typing or selecting a date.
They will appear as accounted-for, and you do not have to scan them again.
During this inventory, if the location of an item does not match the currently specified location… Select how you want Destiny to handle items not in the location specified in the item record:
- Do nothing
- Alert but do nothing
- Prompt for the change
- Automatically change Home location
Note: To use this option, you need to select the Current scanning location in Destiny when conducting an inventory. - Click OK, and then click Yes in the confirmation message to begin the inventory.
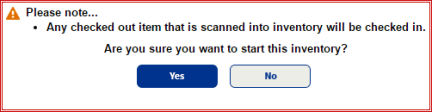
| Note: After you confirm the inventory, you can no longer make changes to the inventory setup. |