Cataloging eTextbooks and Digital Resources
Use Resource Manager to manage digital content, such as eTextbooks. When you catalog these resources, certain fields must be set accordingly.
Add Resource Description Records for eTextbooks
Before you create a new resource description record, first check to see if one already exists in the district.
For consistency, resource description records should be created by a district user.
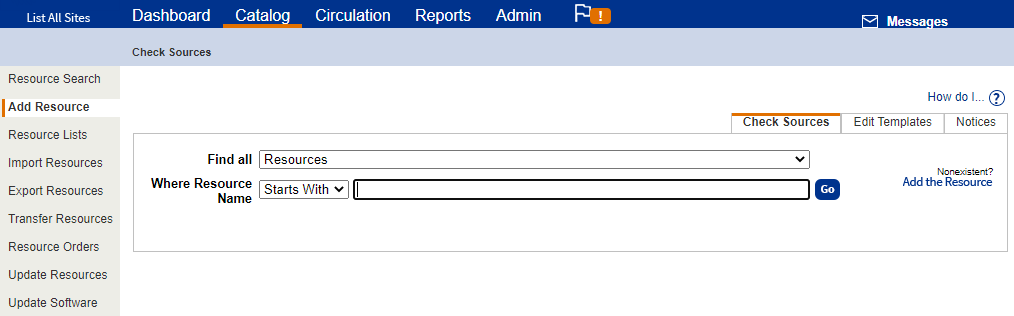
Use the following steps to check if a description record exists:
- Select Catalog > Add Resource > Check Sources sub-tab.
- From the Find all drop-down, select the resource type.
- Use the Where Resource Name drop-down to select one of the following:
- Contains: Performs a keyword search for one or more words that are part of the Resource Displayable Name. This is the broadest search.
- Starts With: Searches for resources that begin with the letters or words you enter. Select this option only when you know the resource’s exact name.
Note: When searching for eTextbook resources, Follett recommends searching by ISBN to ensure you get an exact match.
- Type your search term, and then click Go.
If no record exists, the Add Resource page appears.
If a record exists, find the resource you want, and then click Details. To make changes to the record, click Edit.
Use the following steps to add the description record:
- In the Resource Type drop-down, confirm the correct resource type appears.
- Complete all required fields and as many other fields as possible.
- For an eTextbook or digital resource, use the Instructional Classification drop-down to select Digital Material (never barcode) or Digital Material – Auto Circ (never barcode).
Notes:
Instructional Classification encompasses resources with barcodes, never barcode and consumables. (Never barcode) prevents anyone from assigning barcodes to the items and prevents Destiny from importing or uploading items with barcode numbers. You cannot select this option if this resource has any existing barcoded items. For consumables, barcodes cannot be assigned. Destiny only accepts counts for these items.
If your school uses class schedules and you assign teachers, students and resources to classes, resources with an Instructional Classification of Digital Material - Auto Circ (never barcode) are automatically circulated to students in those classes.
- For eTextbooks, use the Material Type drop-down to select Electronic Book (eBook). Digital materials that are not eTextbooks can have any material type.
- Click Save.
To add digital content, such as eTextbooks or other links, instruction manuals and warranties, to any resource or resource type:
- On the Resource Details page, select Update Digital.
Note: Skip this if you have a redemption codes XML file that contains a URL. - On the Update Digital Content page, click Add New.
- In the Digital Content Name field, type a name for the content. This name will appear on My Info pages for any patron who checks out the resource.

- From the drop-down, select if you are uploading the content or entering a URL.
- Click Choose File to upload the content to your Destiny server, or type the URL.
- If patrons have access to My Info, and you want them to see the file or URL, select Allow patron to view in My Info.
- Click Save, and then Close.